
There is a huge variety of solar water heaters available in the market. Not only the components vary but also the designs, functions and other features. If you are someone who is thinking of installing solar water heater at home yourself, then you must be abreast with the procedure steps, materials needed, supplies needed etc. This is why we have brought you this article which will give you an idea of the process of solar water heater installation. So read on to find out.
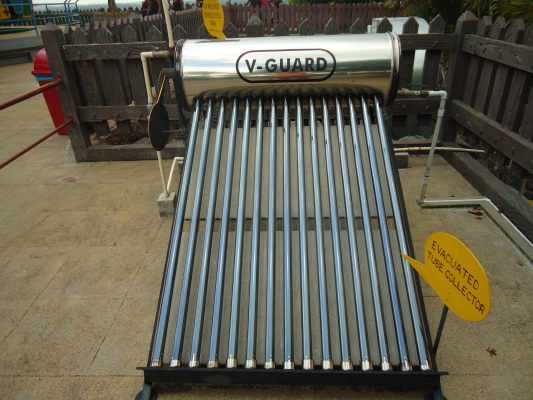
1. Mounting solar collectors on the roof
- The first step that you need to follow for installing solar water heater at home is to mount solar collectors on the roof. It is important not to make many roof penetrations during this process.
- Collectors can be mounted on a roof and the piping can run through a vertical wall rather than the roof. For this you can seal the penetrations using a silicone sealant. You may first need too Locate the rafters which will be attached to the collectors. You may be able to do this by making use of a stud finder. Else you will have to go inside the attic space and drill a small hole next to a rafter to locate it.
- Now drill the hole and once done, run a small wire out of the hole to locate it on the outside. Use a silicone sealant to seal the hole.
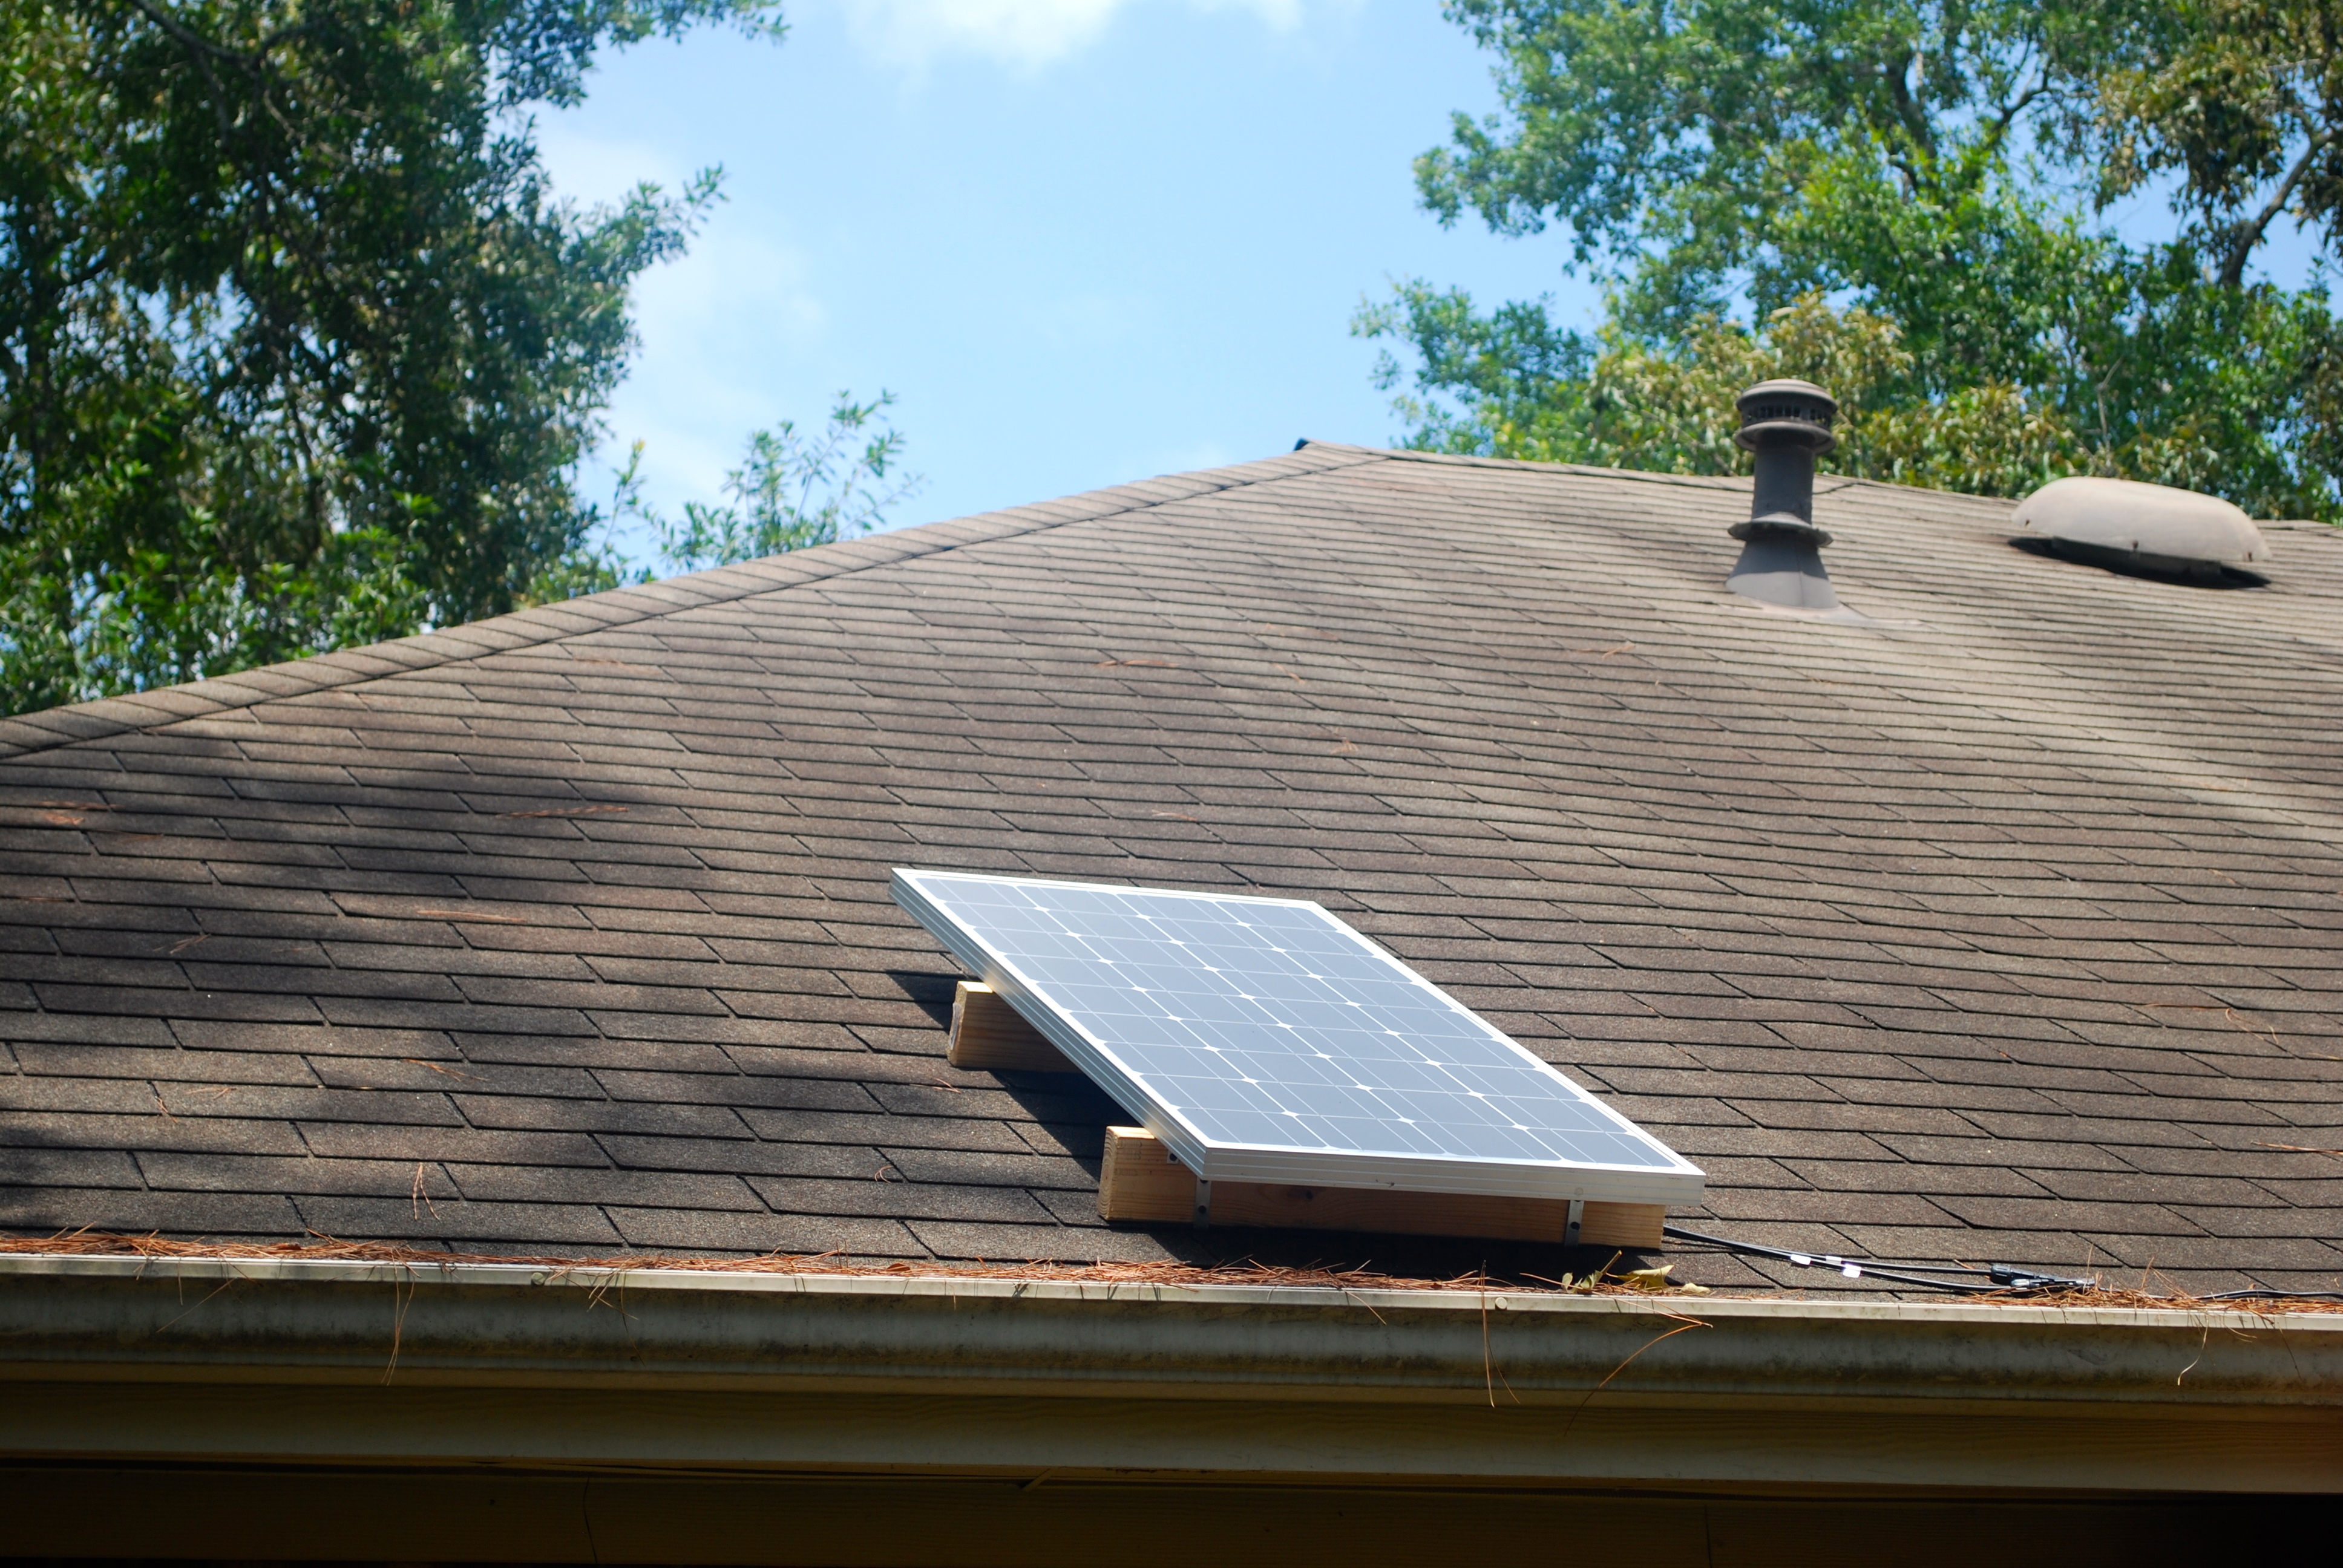
Image Credits: koukoojinja.net
2. Install storage tank
- The next step to follow is to install the storage tank. For this, you need to first place the solar storage tank near the conventional water heater.
- In case the heat exchanger is internal to the storage tank, you must ensure that the glycol loop connections to the heat exchanger and the hot and cold water connections are accessible. However in case the heat exchanger is external to the storage tank, this most likely means that it is supported by the plumbing.
- Now you need to install unions at the storage tank and heat exchanger connections to ensure that the piping does not have to be cut if the heat exchanger or the tank need replacement in the future.
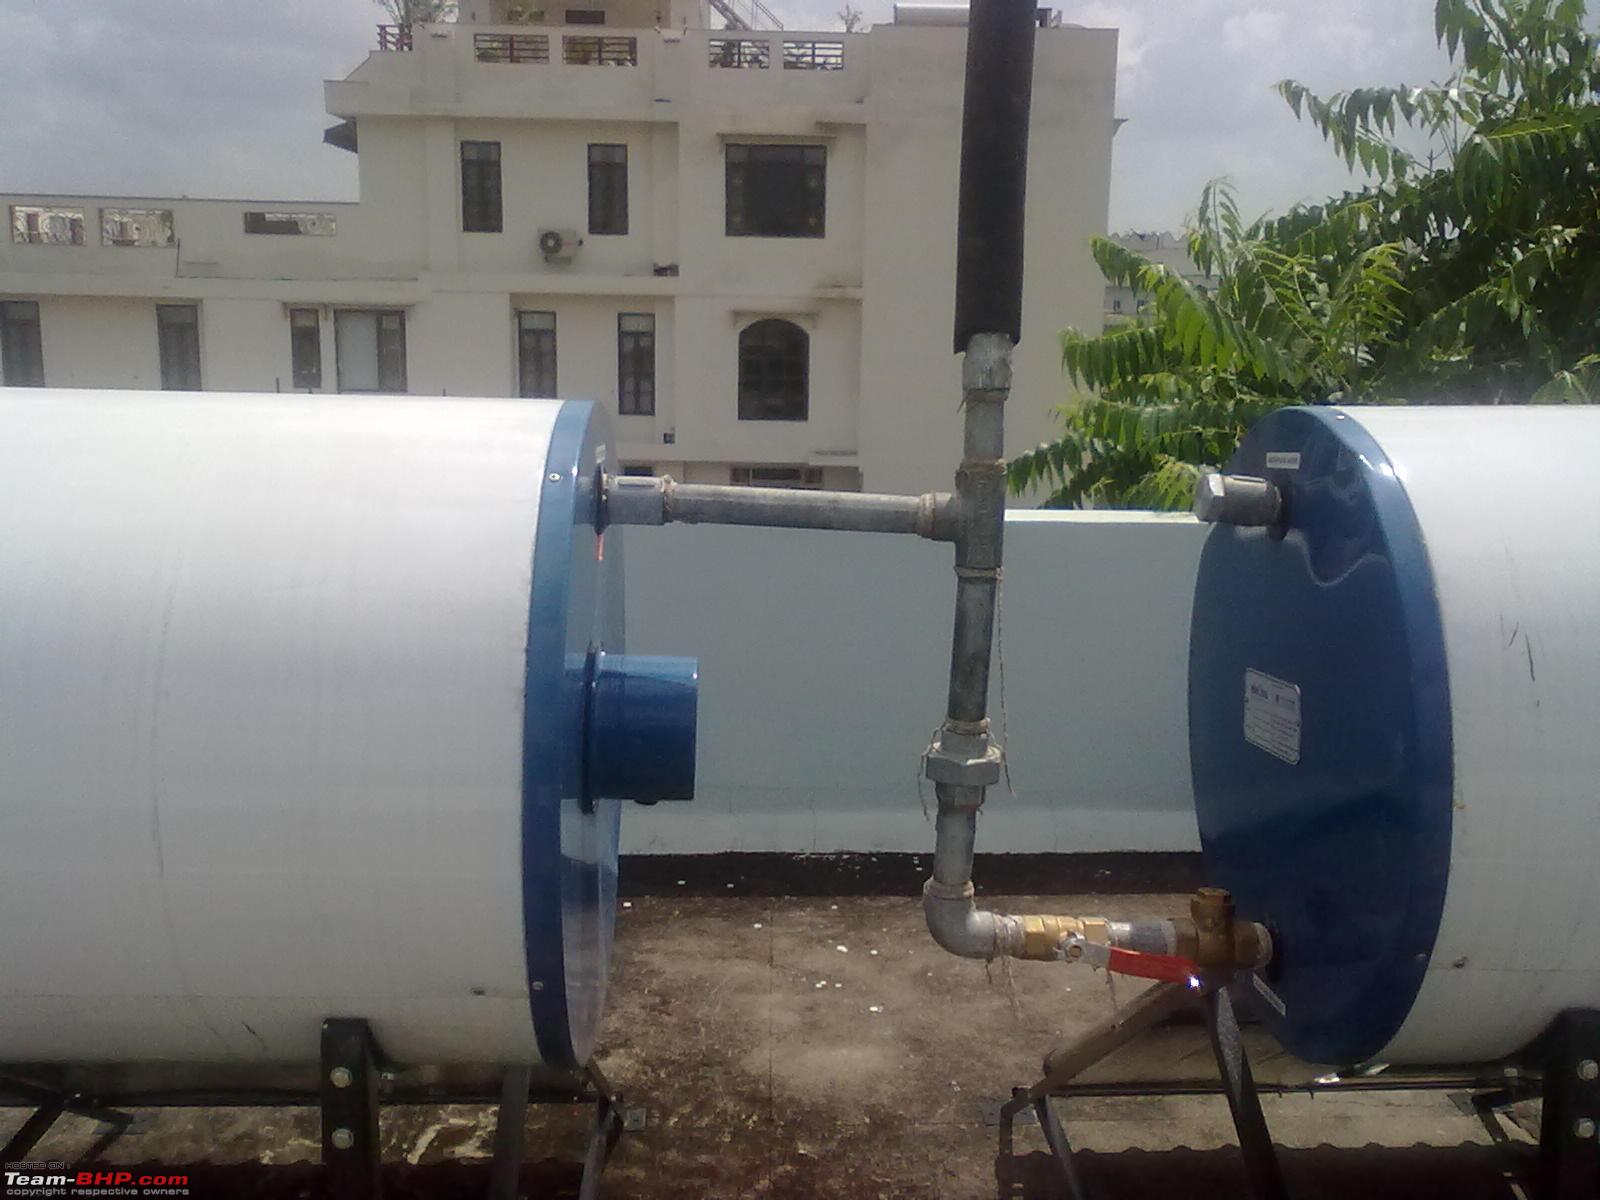
Image Credits: solar-bhp.com
3. Install the piping and pump
- Now the next step for installing solar water heater is to install the piping and the pump. For this you first need to assemble the entire glycol loop without solder and the solder the entire loop.
- Install unions at the pump so that if it ever needs replacement then it can be replaced without cutting. Pump should be installed at the lowest part of the loop.
- An expansion tank too must be installed with a pressure gauge.
- Now you need to install the water piping and for this you need to plumb the cold water energy in the house to the inlet of the solar storage tank.
- Also connect the outlet of the solar storage tank to the inlet of the conventional water heater.
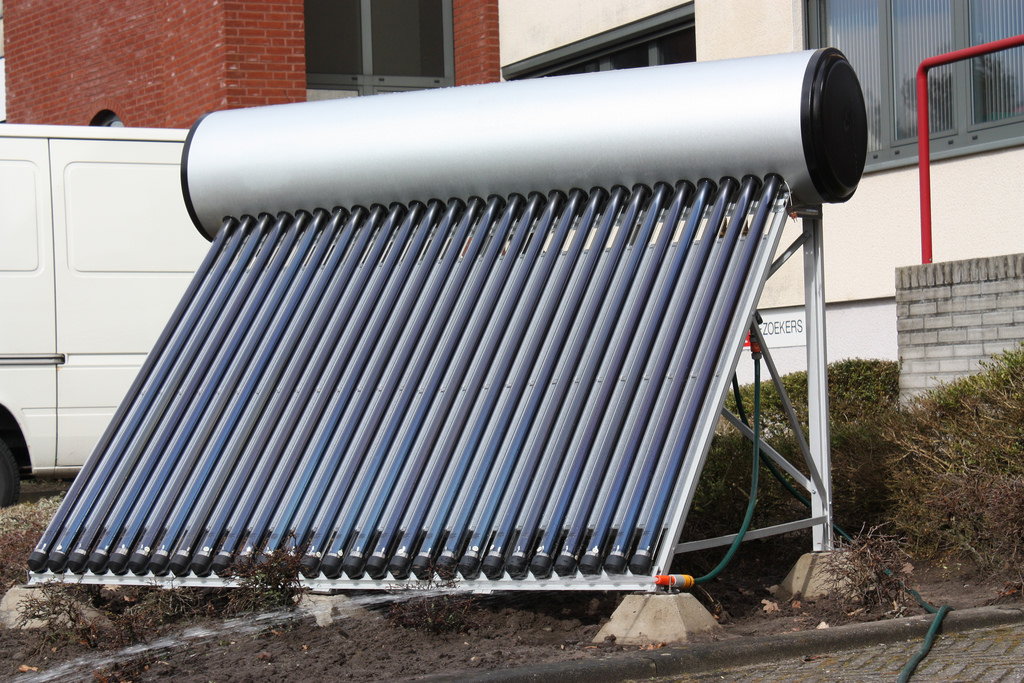
Image Credits: Flickr
4. Install the controls
After this you must install the controls. The differential controller must be installed so as the sense the temperature difference between the glycol at the top and the water at the bottom of the solar storage tank. Some other controls and attachments you can install include bypass valve, high temperature radiator loop and tempering valve etc.
Bypass valve: Run a pipe between the water pipe entering and leaving the water heater. You need to install the bypass valve in this pipe.
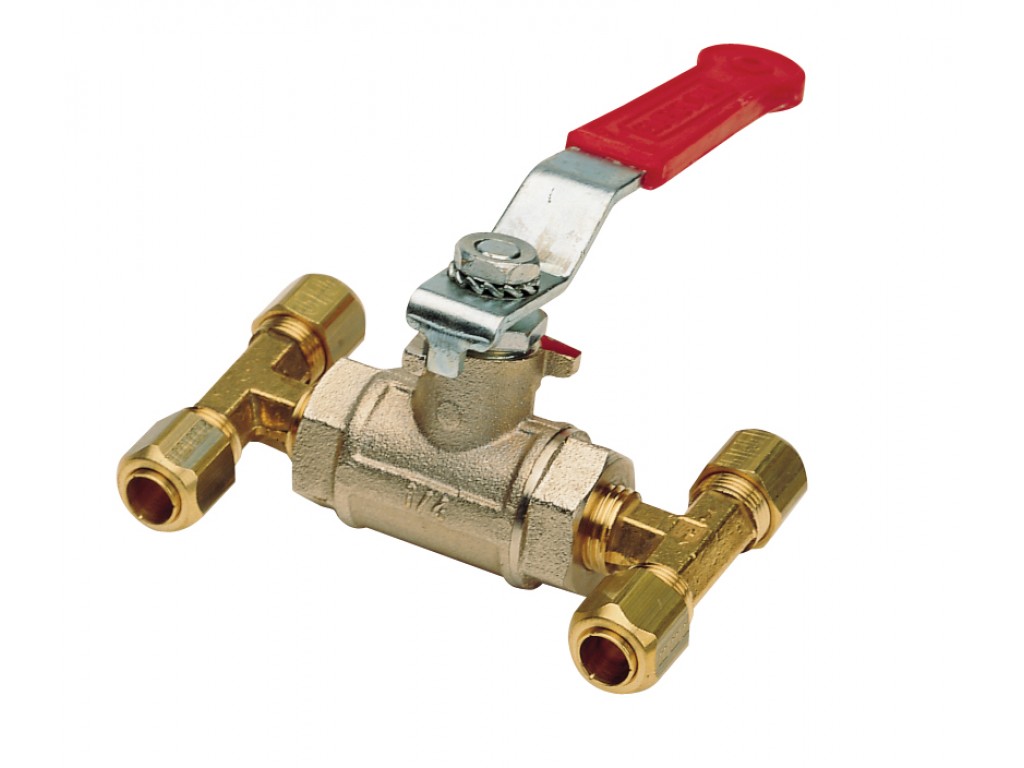
Image Credits:vetusdirect.com
Tempering valve: A tempering valve may be installed after the conventional water heater. The tempering valve adds cold water to the hot water in order to control the temperature to avoid risk of scalding.
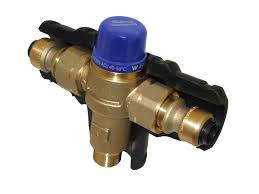
Image Credits:sharkbite.com
High-temperature radiator loop: A radiator, pump, and controls may be installed on the system with the aim of dumping energy in case the glycol loop gets too hot.
5. Fill the system
Another step that you need to follow is to fill the system. You need to check the glycol loop for leaks by filling it with water. For this make sure there is no air in the loop.
6. Insulate water and glycol lines
The final and last step is to insulate water and the glycol lines. This can be done by using standard foam pipe insulation. Duct tape can be used for all the joints.
Now that you know the process of installing solar water heater at home, you can do it anytime. But for professional installation, you can contact Mr Right for installation services.
Loading recommendations...


I appreciate your clear explanations and the emphasis on safety throughout the process.
It’s evident that you care about your readers’ well-being and want us to tackle these issues safely and effectively.
Your blog has become my go-to resource for appliance-related issues,
and I’ll be sure to share it with friends and family who might face similar problems with their appliances.
Keep up the fantastic work!