
The installation of integrated dishwasher models is expensive because there are a lot of efforts involved in the process, unlike the standard ones. They are totally different from each other when it comes to their installation. One thing is that they are installed to stand the heat being a built-in process. Here are some tips on how to replace an integrated dishwasher door-
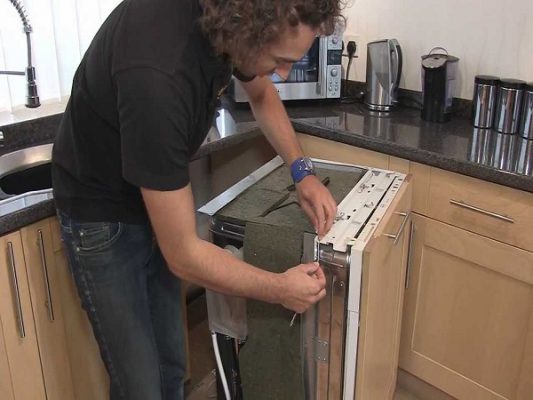
How to remove the dishwasher door
Depending on the model of an integrated dishwasher, the nature of the attachment of the door varies. So, a great deal of difference you will notice at the time of removing them. You can check the handbook of the integrated dishwasher model you have got at the time of buying it, which will clearly define the steps of how to remove the dishwasher door with less difficulty.
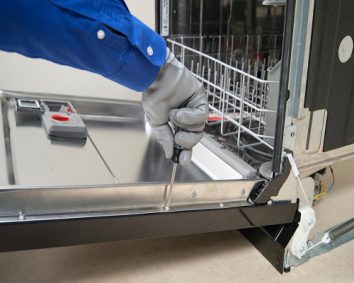
In most of the integrated dishwasher models, you will find two fixing screws. They are usually found on the side of the dishwasher door and sometimes hidden with a plastic cover.
https://www.searspartsdirect.com
As soon as you remove the screws with a screwdriver, the dishwasher door will be pulled out. Another two fixing screws you will find on the top of the dishwasher door.
Process of replacing the door of an integrated dishwasher
Once you completely removing the original door, try removing any fixing plates, which are behind the dishwasher door. You should keep them properly because you will need them again while adjusting the new dishwasher door and get it into place. By looking at the old dishwasher door and how it was placed, you can easily position the new integrated dishwasher door.
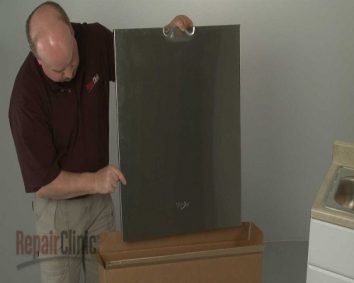
Attaching the door front to a Whirlpool integrated dishwasher
For example, if you want to replace the door of your Whirlpool integrated dishwasher, which comes with an inner and outer panel it is recommended to remove the front panel first. The same process will apply when you are repairing the detergent dispenser and the lower door wiper gasket. The outer panel is fastened with eight screws from the inner door and you can remove them by accessing them from the inner door panel.
https://i.ytimg.com
- First, close the dishwasher door but never fastened it with a latch
- Ensure the outer door panel comes parallel to the front of the dishwasher. At this point, the top of the panel should be flushing in the bottom of the control panel.
- Now open the dishwasher door and install the eight screws, putting four on each side of the inner panel. It will secure the outer door panel to the dishwasher door.
- Now close the dishwasher door.
Installing Bosch dishwasher door panels
The Bosch integrated dishwasher comes with front panels which are added to the kitchen door. With time, the integrated dishwasher may get worn down or get dirty. To give a new look to the integrated dishwasher, you can simply improve the look of the dishwasher by replacing the door panel.
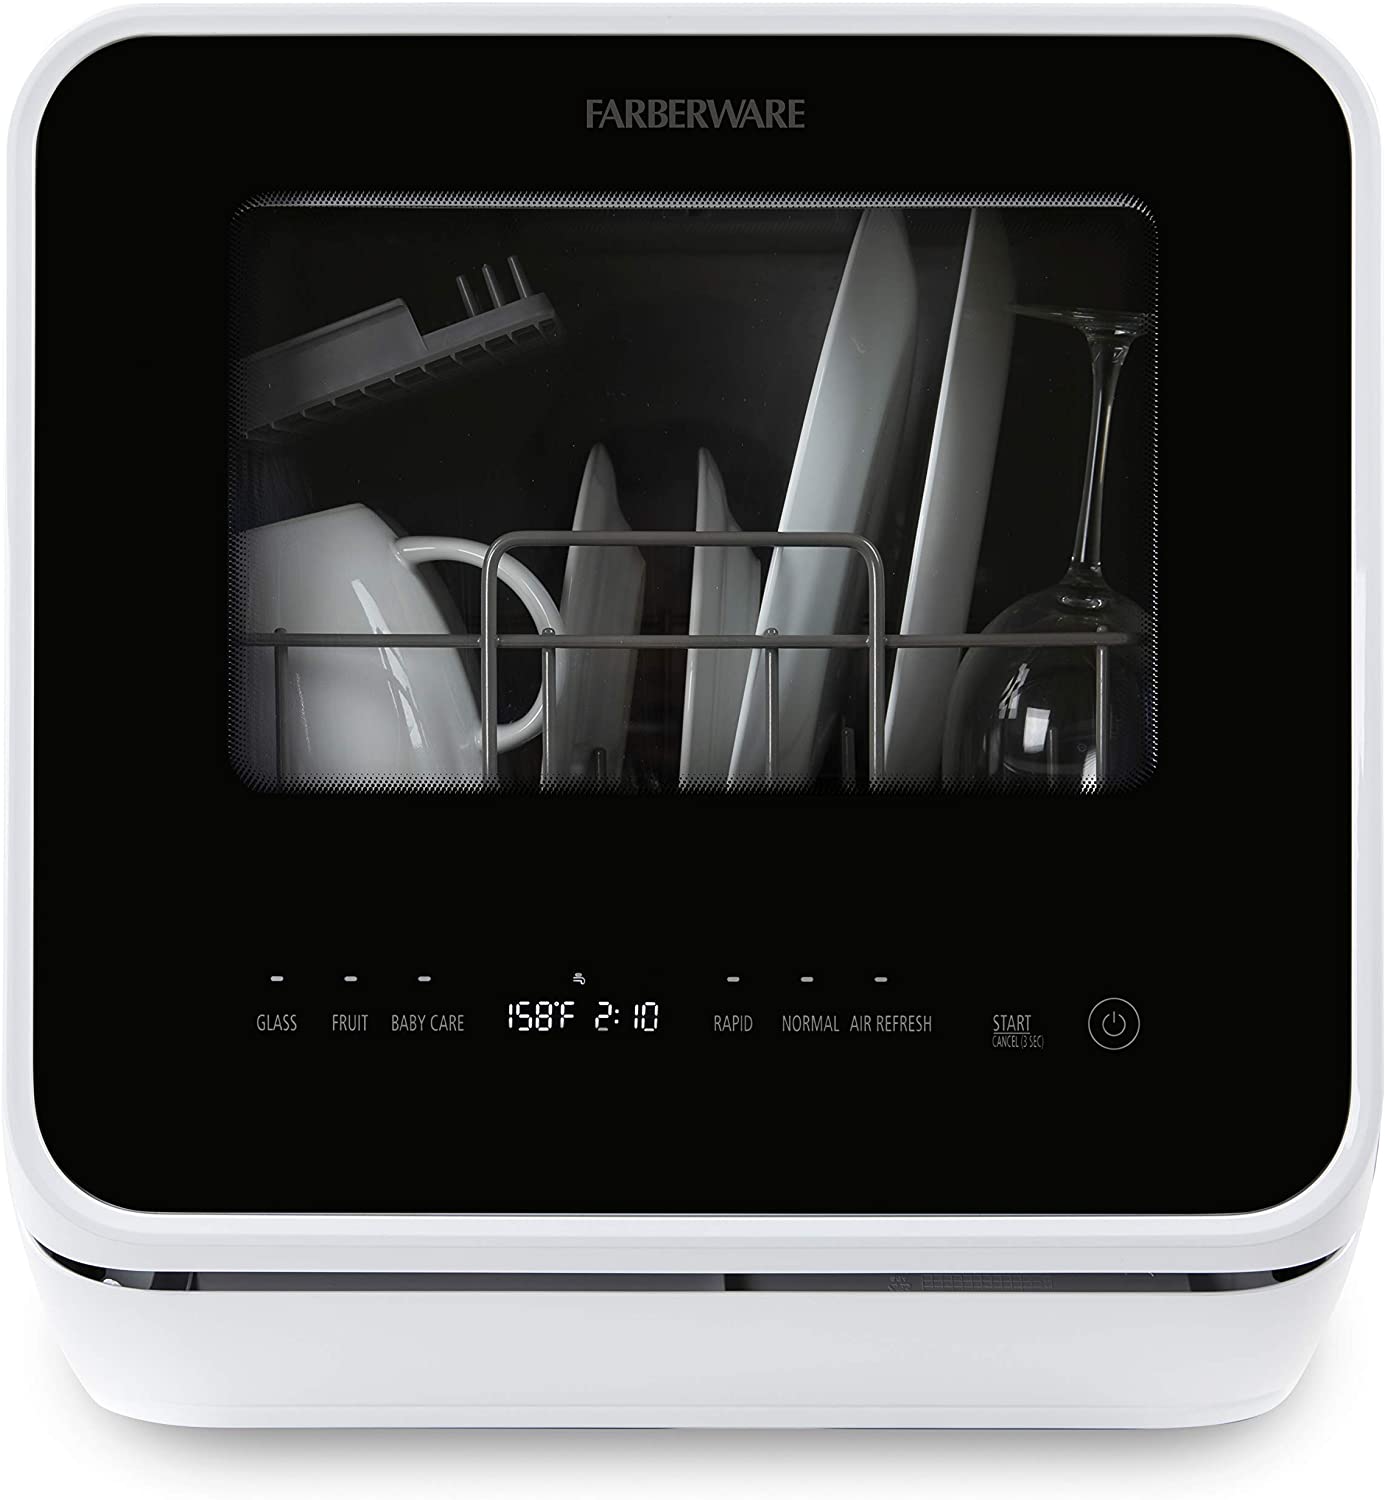
Farberware FDW05ASBWHA Complete Portable Countertop Dishwasher
with 5-Liter Built-in Water TankThis convenient dishwasher can fit a variety of dishes (up to 12-inches in diameter at an angle) and is ideal for small-sized houses, apartments, dorms, boats and campers/RVs.
Even if you don’t call a technician you can perform the task all by yourself. Here are the steps-
- After removing the power plug from your Bosch integrated dishwasher, which is located under the kitchen sink, you can go on opening its door and keep it aside.
- Use a good quality screwdriver to take out the eight screws attaching the side panels to the dishwasher door
- Now close the integrated dishwasher and pull out the whole unit casing of the front panel. Do not exert pressure more than necessary, otherwise, the control panel wires will come out of the board.
- After removing the screws from that are connecting the control panel to the front panel, align your new front panel up with the control panel and tighten it to the unit casing with the control panel screws.
- The final step would be the opening up of the integrated dishwasher and replacing the side panel screws to fasten the front panel.
Loading recommendations...

I think I’ll call a technician to fix it just to be safe grade calculator
I am delighted to have bookmarked your website in order to stay informed of any forthcoming content that you may publish Retro games.