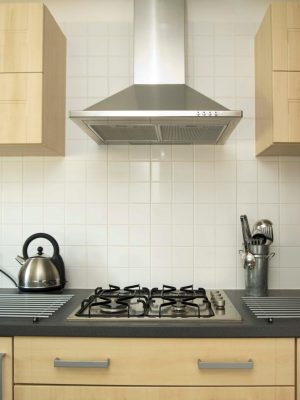
A bathroom is one place in the house where a lot of steam builds up and must be pushed out continuously. This is why it is very important for bathrooms to have exhaust fans. It is true that when it comes to installation of such appliances, most of us consider calling professional electricians but it may prove surprising to you that this task can be done easily on your own as well. All you need is some essential tools and some time to spear. The following are some steps you need to follow to install a bathroom exhaust fan.
Tools needed
The tools that you will need to install a bathroom exhaust fan include a ladder, a wallboard saw, a carpenter’s pencil, leather rigger gloves, eye protector glasses, disposable dust mask and a screwdriver. Besides this, you will obviously need the exhaust fan with its cover along with clear plastic drop sheet and painter’s tape.
1. Step 1: mark out a hole to install a bathroom exhaust fan
The first thing that you need to do to install a bathroom exhaust fan is to mark out a hole on the ceiling or wall where you wish to position it. For this you will have to look for a space which is clear of any electrical wiring. You must clear any insulation away. If you have found a good spot, you must tape the cardboard template in position and mark out the cutting circle.
2. Step 2: cut out the hole on the marked area
The next thing that you need to do is to lay the drop sheet on the floor to protect it as well as the other things in the bathroom such as the fixtures and fittings. Now make use of the plaster saw to make a tiny pilot hole punch inside the circle cutting which you earlier made on the wall or ceiling. Cut in the outwards directions from inside the pilot hole and around the rim of the circle.
3. Step 3: install the exhaust fan
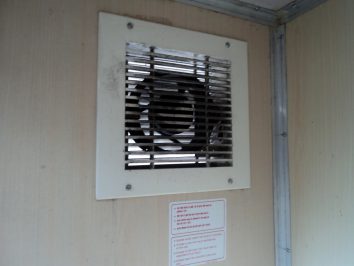
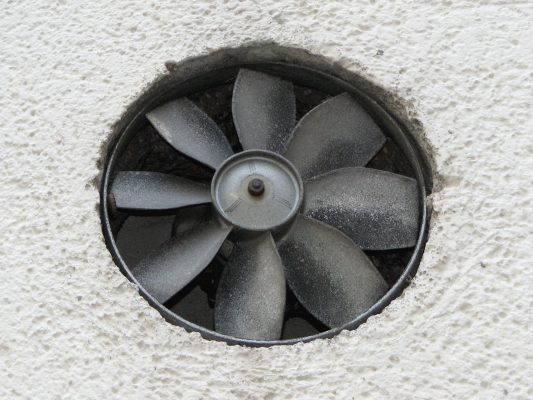
Now take the exhaust fan and put it in the space or hole. While making sure that the power cord is kept on top of the motor where the electrician can reach it . While holding the fan in position, tighten all the screws on the rim. What these screws do is that they engage the small catches which grip on top of the plasterboard. Push the cover of the exhaust fan into its place to finish the project.

Image Credits: Wikimedia Commons
If you have followed all of the steps given above, you have done most of the work that was required. However for the wiring and connections, you may have to contact a professional. If you have some know how, you may be able to attempt it on your own. But it is recommended to take help of an electrician for safety reasons. For exhaust fan installation or repair, you can contact Mr Right.
Loading recommendations...