

Installing a CCTV camera system can an expensive affair. Don’t worry, just follow these simple steps and do the installation yourself.
Planning before installing a CCTV camera
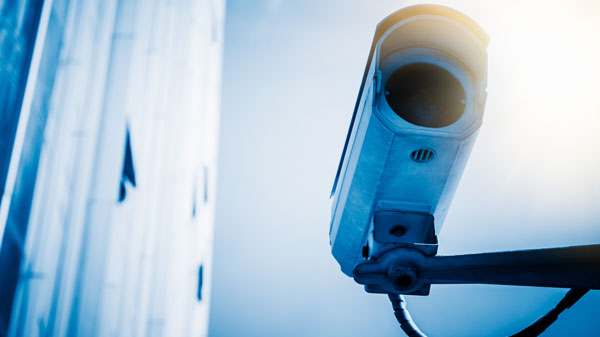
The most important aspect of installing a CCTV camera system is choosing the right spots for camera and DVR to maximize camera coverage and minimize cable length (which in-turn reduces the in line losses that affect video quality). For indoor placement of best home security cameras, choose a corner in the room from where most entry points into the room are visible. A power socket should also be in close proximity. For outdoors, choose a higher spot covering the door, window approaches, garages etc. Choose the spots above 10ft so that it cannot be knocked down easily.
If you reside in UK and looking for round-the-clock CCTV camera solutions, you can also visit Clacton Locksmith. A locksmith can help you to have extra security aside from security cameras. They can come and rekey all of the locks in your home by removing the cylinder from your lock and reconfiguring it. That way, you have total access and control over your house. Additionally, for free quotation and survey of your CCTV security requirements throughout Coventry, Warwickshire, and the West Midlands, click here.
Mounting the camera

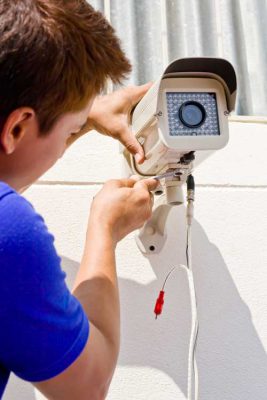
Place the camera unit at the desired place, make guide marks for drilling. Drill holes and hammer in the screw mouldings. Now, screw the camera in place firmly. Insert the power cable of the camera in a socket.
Placing the DVR

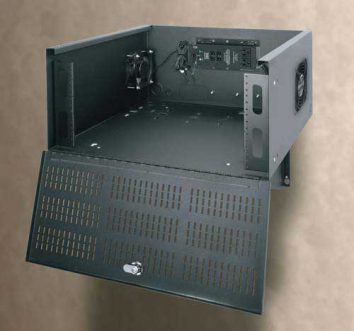
DVR of the CCTV is the place where the surveillance hard disk is present. Thus all your CCTV recording reside inside a DVR. It is highly recommended to keep the DVR inside a locked compartment so that even if an intruder spots the DVR, he/she can’t destroy the recorded videos. This is a vital step to ensure a bullet proof security system for your home.

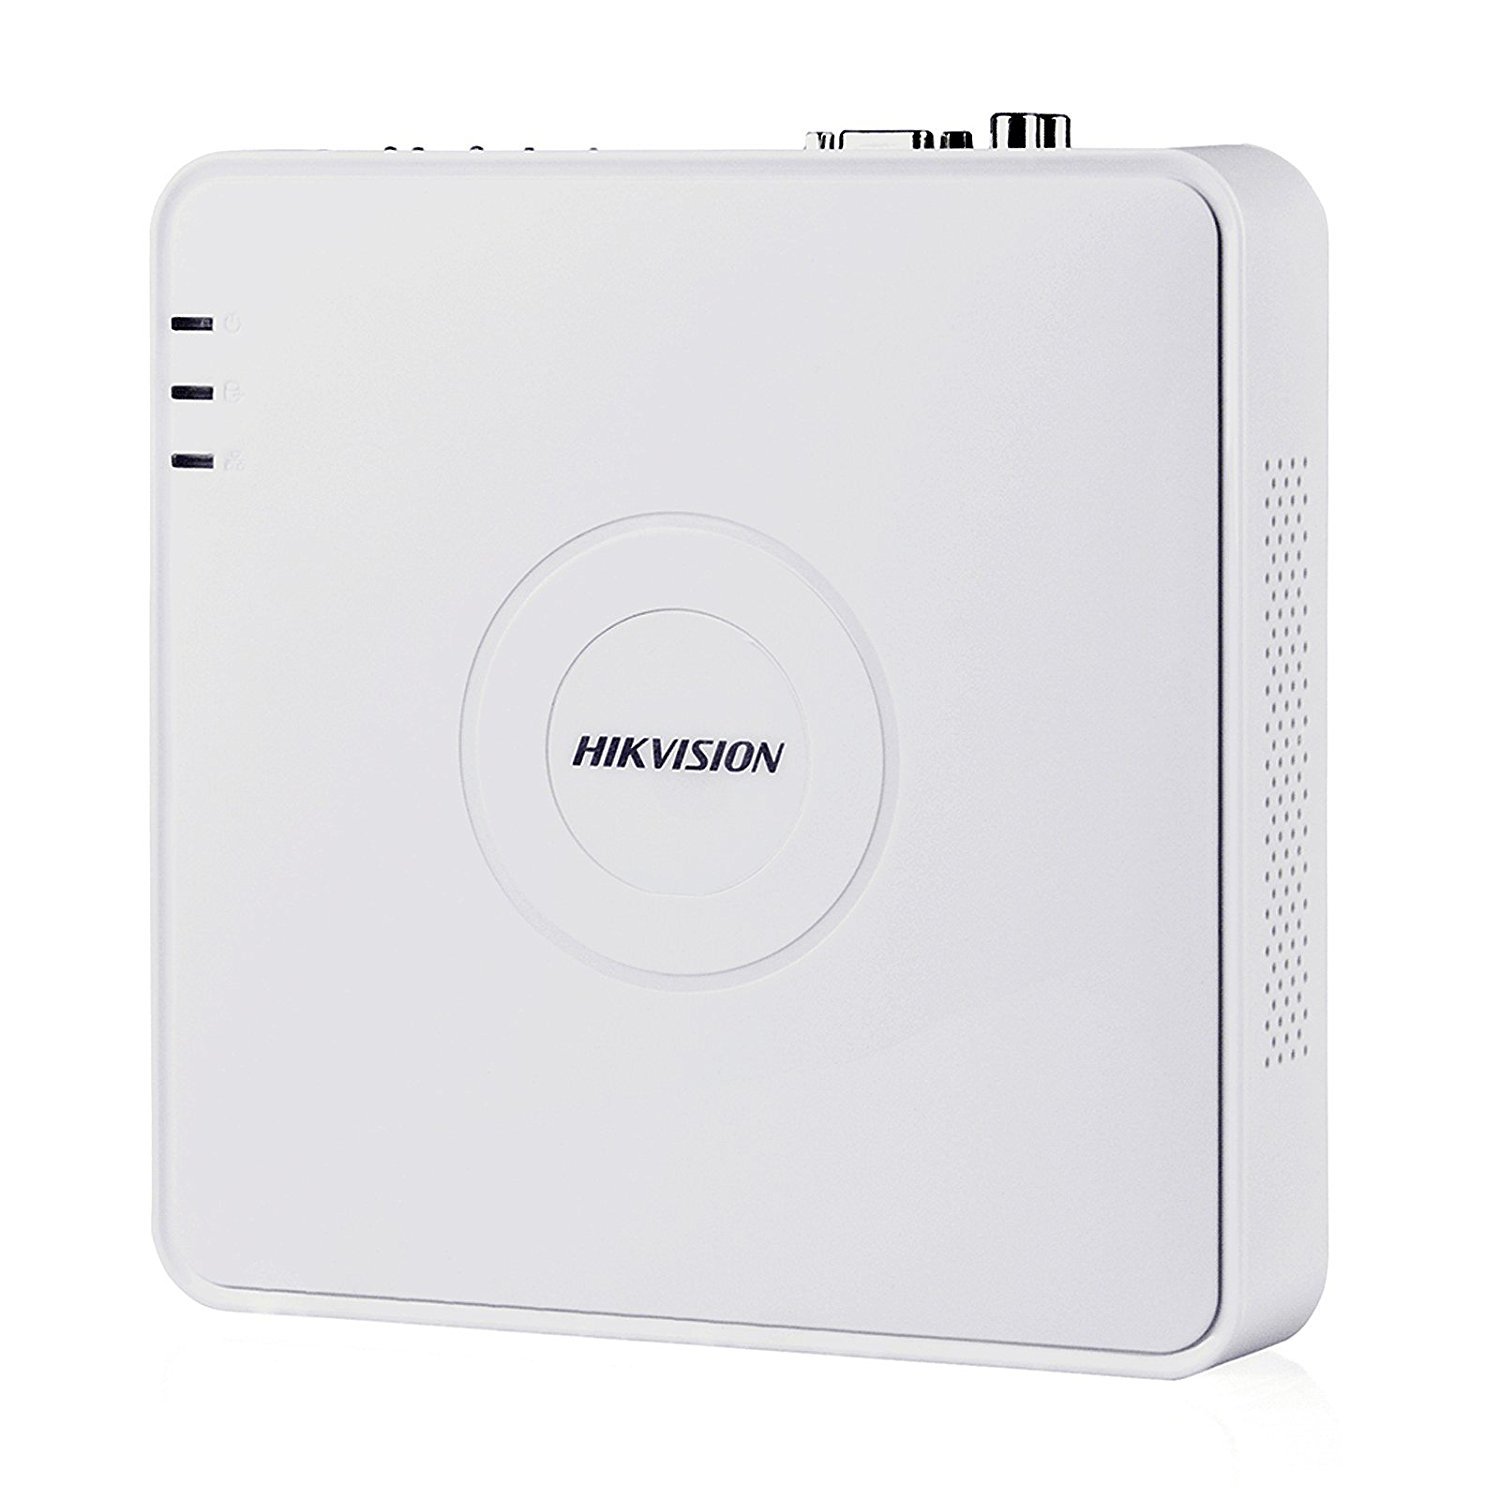
Hikvision DS-7A04HGHI-F1 Turbo
Upgraded 4Channel HD Mini DVRH.264 / H.264+ & Dual-Stream Video Compression, Support both HDTVI / Analog and AHD cameras with adaptive access, Full channel recording at up to 1080P lite resolution.
Managing the cables


Image Credits: cabletiesandmore.com
Plan the pathway for all the cables from cameras to DVR unit. Use wire moldings to keep the wire managed and safe. Nail the moldings along the path and put the Siamese surveillance wire inside.
Connecting the wires
Steps to connect the BNC port:

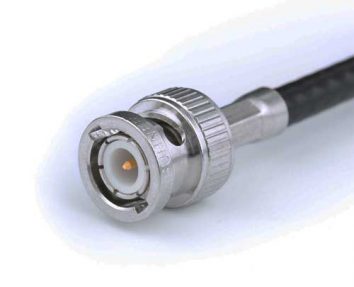
The video cable is connected via a BNC port. Remove about 1.5cm of outer covering of the video cable which should now expose the braids. Slide the crimping barrel onto the cable with wider diameter facing towards the end of the cable. Now remove the white insulator covering the innermost cable. Now insert this exposed cables into the BNC port and screw the crimping barrel. This makes a secure connection. Connect the DVR output port to the screen on which you want the video feed.
Power on the system

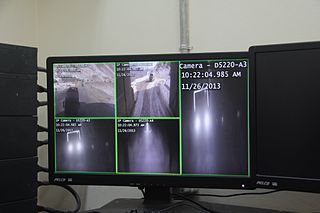
Image Credits: wikimedia.org
Start by powering ON the cameras followed by the display and the DVR. Setup the DVR according to the user manual provided with the DVR. Go over every camera’s feed to confirm each camera is working properly and providing the desired viewing angle.
If you’re currently shortlisting which CCTV system to get, do consider the following:

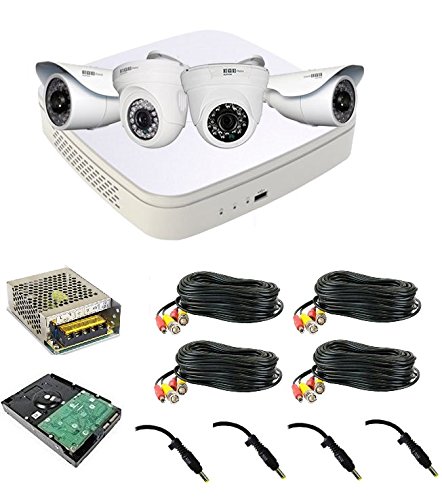
CP Plus Intelli Eye Full HD CCTV Camera Kit
4 channel dvr for High qulaity recording videoIt is a full pack combo which does not require any other components. This dvr kit is best suitable for buyers who are looking for cctv surveillance for thier shops, warehouses, office, schools.
For any queries regarding installation of a surveillance system, please comment in the section below.