
Wax can be applied with a machine or simply by hand. We’ll be addressing the latter here.
Firstly, invest in a good quality car wax. Instead of getting a generic car wax, spend a little more and buy a branded car wax. They will last longer on the car and provide a superior shine/gloss. There are three basic choices when selecting a wax, i.e. carnauba wax, synthetic paint sealant or hybrids (combination of the previous two).
Carnauba waxes are known to provide a warm and a rich finish to the paint while providing depth as well. On the other hand, they don’t last as long as sealants do and the application process can be really tiring. But due to the final results that carnaubas provide, these are the enthusiast’s go-to waxes.
Sealants generally produces a highly reflective finish on the paint. They are easy to apply and last longer as compared to carnauba waxes.
Hybrids are provide the best both worlds. The final finish and longevity depends upon the ratio of carnauba and synthetic polymers in the product. The application process of hybrids is also categorised as easy.
Enough of the geek-ing around, now let’s get to the application process!
What do you need?
A good quality wax, a foam applicator pad, a clean microfiber cloth and an area under the shade.
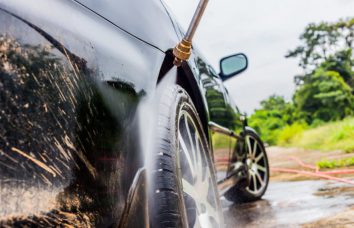
Make sure that the vehicle has been washed thoroughly before you proceed to waxing. Since, you’ll be leaving behind a fine layer of wax on the paint that will be staying there some weeks/months, make sure the surface is free from any kind of contamination.
1. Applying the wax
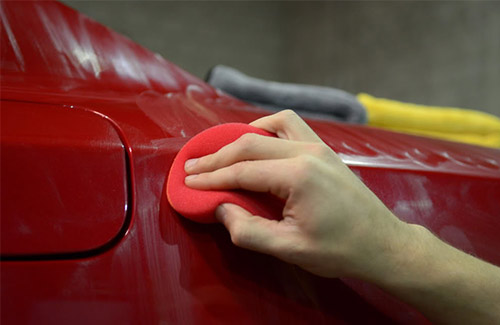
The golden rule while applying wax is “less is more”. Applying loads of product won’t give a better finish but will only make it hard to buff-off. Apply wax as thin as possible in a circular motion. Do not wax the whole car once if you’re doing this for the first time. Do two panels at time.
2. Hazing
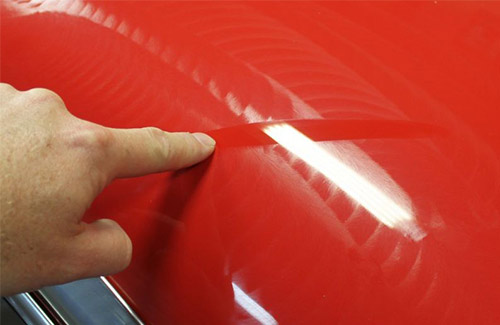
Let the wax dry to a haze. Time required to haze-up properly varies from product to product. But there’s a universal method to test when to move to the next step. On the waxed surface, briskly swipe your finger to reveal the paint below. If the resulting swipe is smeared and streaky, that means the wax needs more time to dry.
3. Buffing

Buff the hazed up wax residue away with a clean microfiber cloth to a clear, shiny and protected surface. Now, move to the next panel.
PRO tip: Pace the number of panels you wax at once according to the time taken by the wax to dry.
Waxing a car can be a relaxing and a satisfying activity for some while being cumbersome and tiring for others. If you’re in the latter group, even better, just book an Exterior Detailing case with Mr. Right!
Image credits:
photobucket.com
mobile-auto-detailing.com
whstatic.com
www.autogeekonline.net
Loading recommendations...

This massage chair is worth every penny. The different massage modes and intensity levels allow me to customize my relaxation experience. Best massage chair under $1000
I recently bought a massage chair and it has been a game-changer! It’s like having my personal masseuse at home.