

There is no doubt about the fact that a ceiling fan is one of the most important and usable appliances in our houses and offices. Not only does it require minimal maintenance but is also easy to switch on and off. This appliance may need regular cleaning and yearly maintenance but if you fail to do so, it may start showing certain faults and one of them is problems with the capacitor. In modern day ceiling fans, a capacitor plays an important role since it helps to control the motor speed. If your capacitor has become defective, then the following points will explain how to replace ceiling fan capacitor:
1. Turn the circuit breaker off
The first thing you need to do to replace ceiling fan capacitor is to turn the circuit breaker off on the service panel which supplies power to the fan. To ensure that you have turned it off properly, you can bring the non-contact voltage tester near the switch cover of the fan.
2. Remove the light kit on the ceiling fan
The next thing that you need to do to replace the ceiling fan capacitor is to disassemble the light kit. Remove the lampshades and the light bulbs. Also remove the screws which are holding together the fixtures to the housing of the fan. Now unscrew the plastic wire nuts to remove the fixture wires.

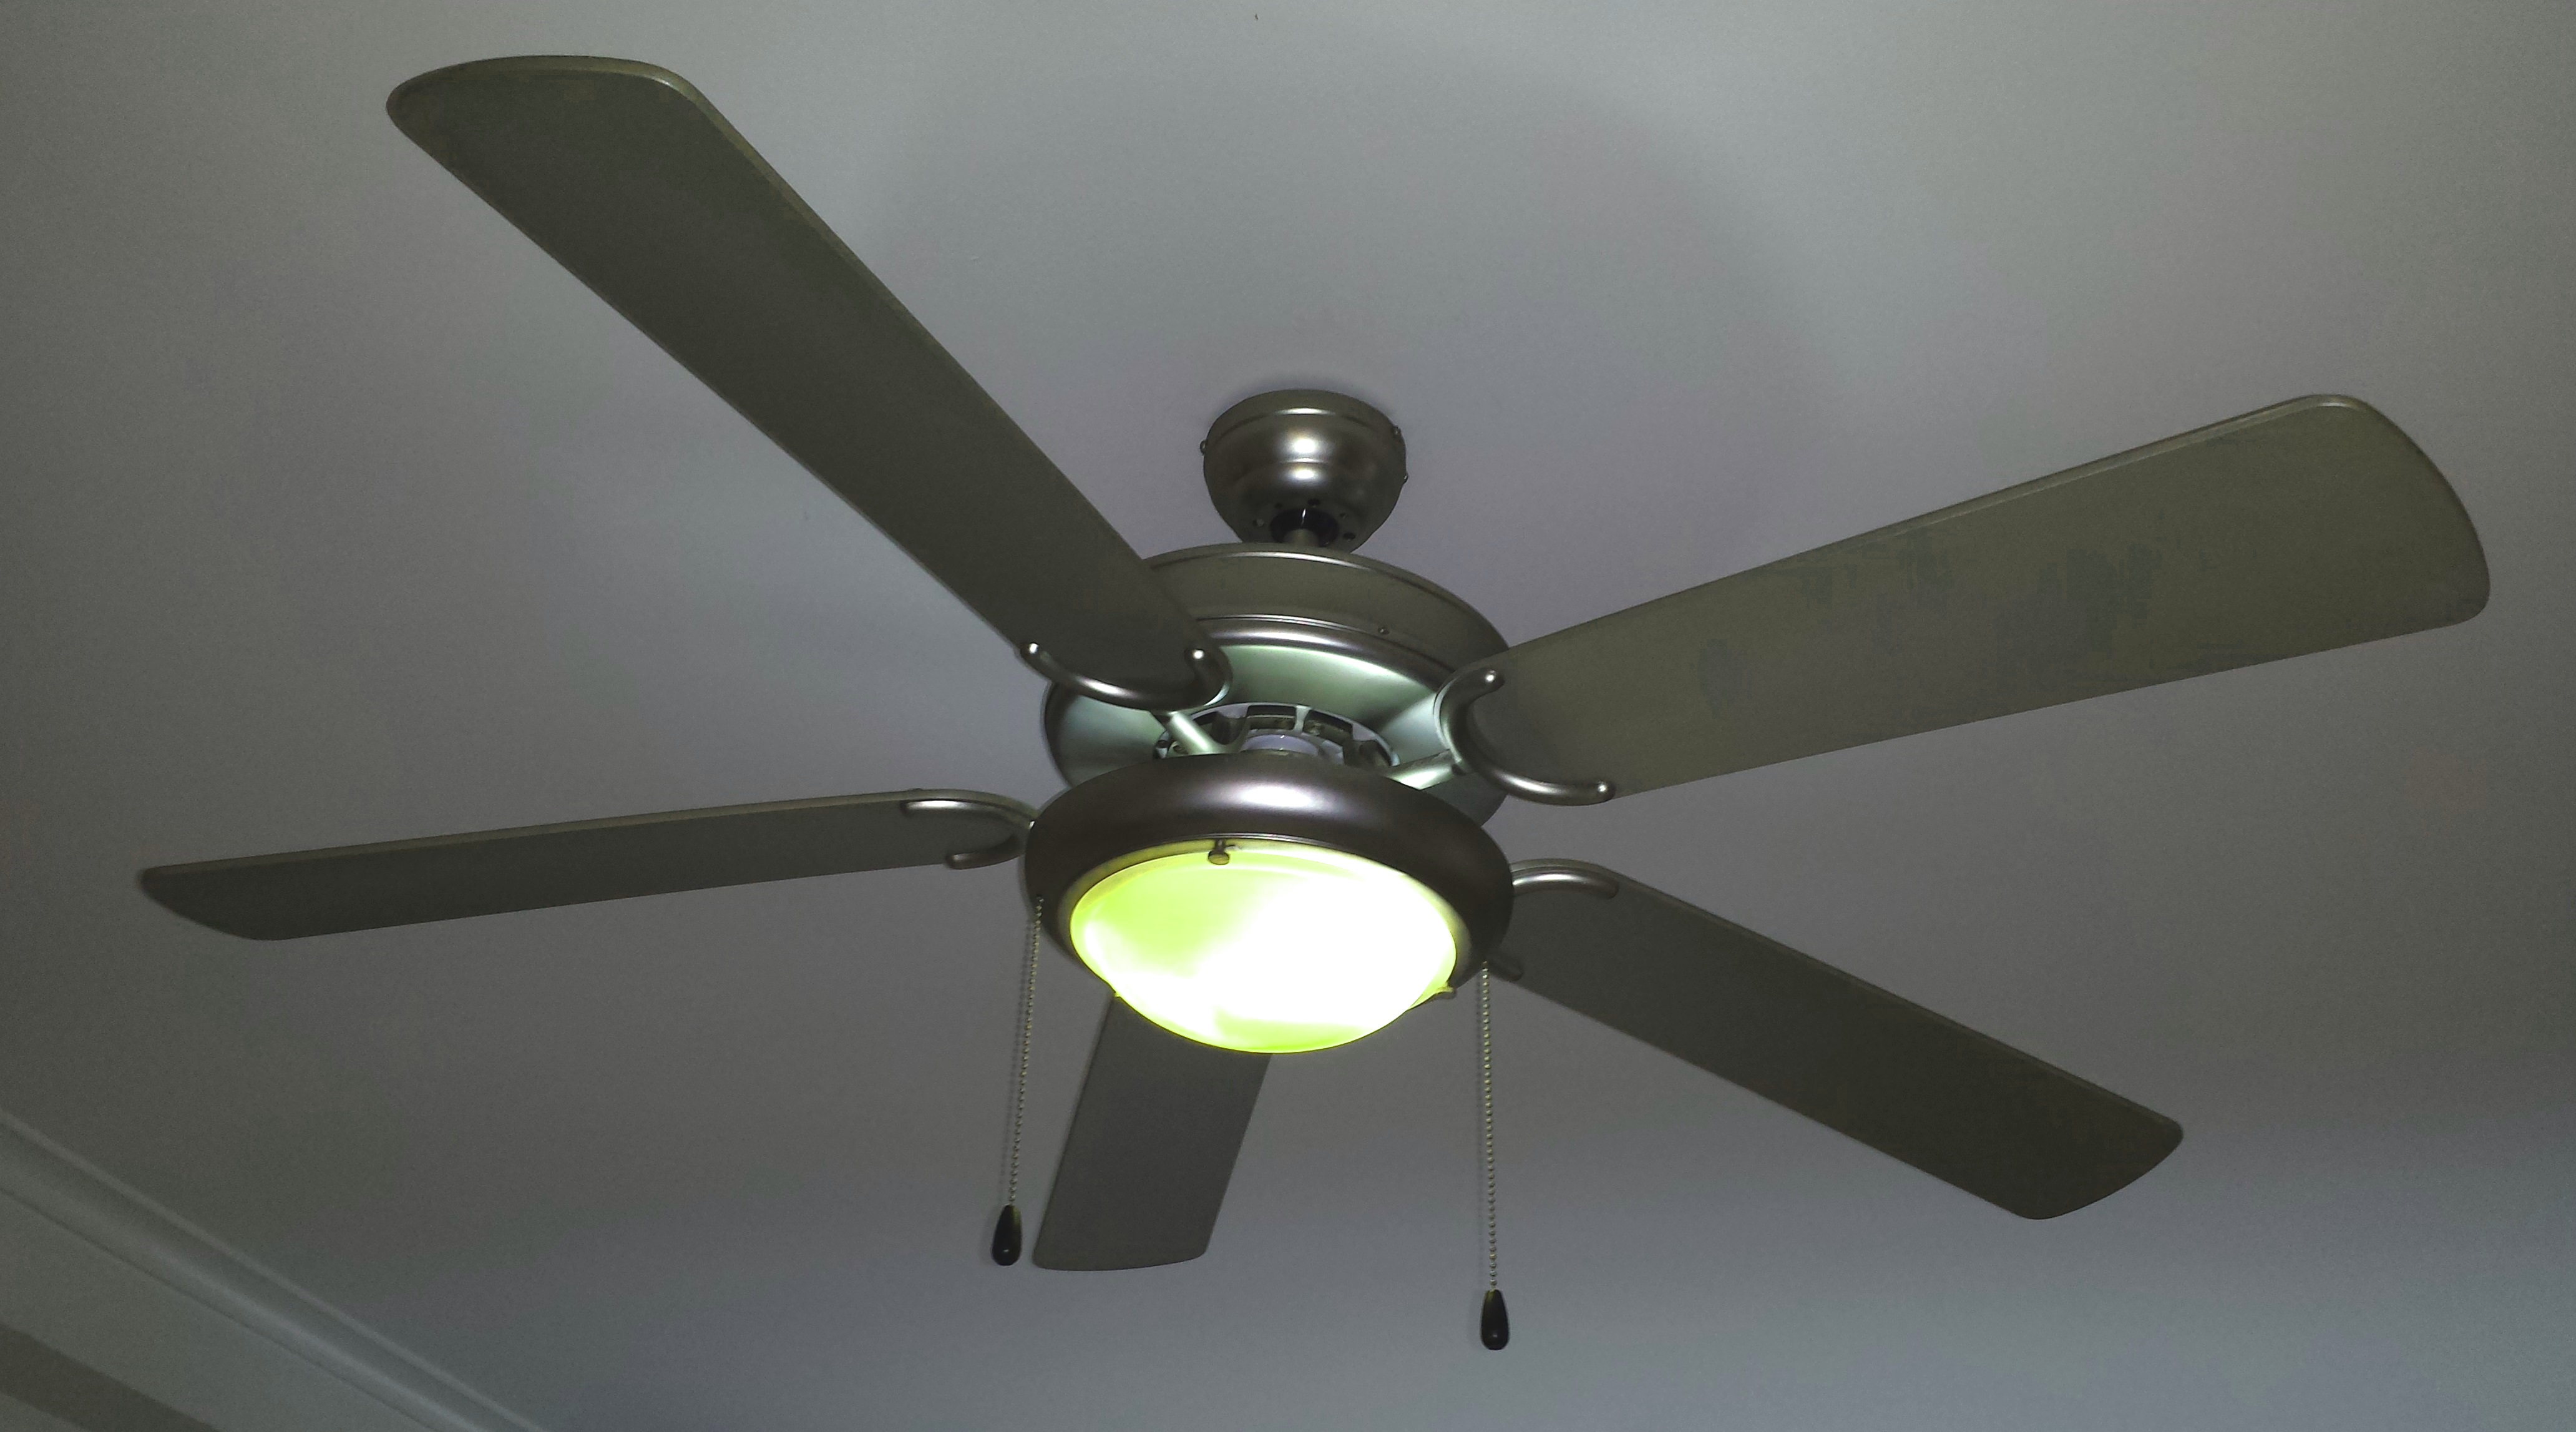
Image Credits: Wikimedia Commons
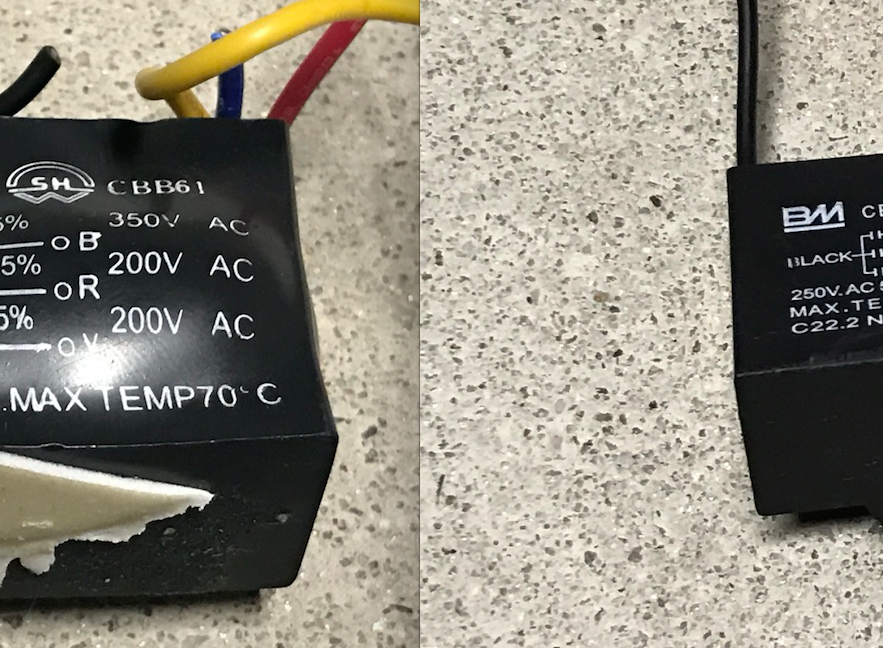
3. Find the capacitor
Now the next step that you need to follow is to locate the motor capacitor. It is basically a black colored box which has about 2-5 wires coming out of it. the capacitor connects to the fan switch. Now what happens is that the leads of the capacitor are color coded however those of the motor are not and hence you will have to use colored tape to tag the motor leads before you remove and disconnect the old capacitor. Remove the old one by unscrewing the nuts which connect the lead to the switch and motor leads. Get an exact replacement of the motor you have disconnected and removed from an appliance repair shop.
4. Install the new capacitor
The next and final step is to install the new capacitor. This can be done by holding the stripped ends of the leads of the capacitor right next to the suitable motor leads. Screw the wire nuts and put the new capacitor in the right wiring compartment. Reconnect the leads of the light fixtures and install the light kit on the fan once again. Put the light bulbs on and turn the circuit breaker on.
Now that you have learnt to replace the ceiling fan capacitor, you wont face a problem in case of a defective capacitor. However if you are unsure of handling all of this on your own, you call in an electrician to do the job for you. You can contact Mr Right for ceiling fan installation or repair work.