

An inverter is an indispensable part of our lives as it helps us during power cuts and maintains the supply of the much needed electricity. If you are someone who is planning to install an inverter at home, then you must know that the process is rather easy but you will need to be careful about a few things nevertheless. If you do not wish to take help of a professional, then the following given DIY guide for inverter installation at home might prove really useful.
1. Select a location which is suitable
The first thing that you need to do to install an inverter at home is to choose and select a location which is suitable for it to be placed. The points given below will help you with the same:
- Make sure the inverter is not placed near any hazardous or flammable materials.
- It must also not be exposed to moisture or water.
- The location you select must be away from direct sunlight and is a dry area.
- It must be placed in an area which has free space around it.

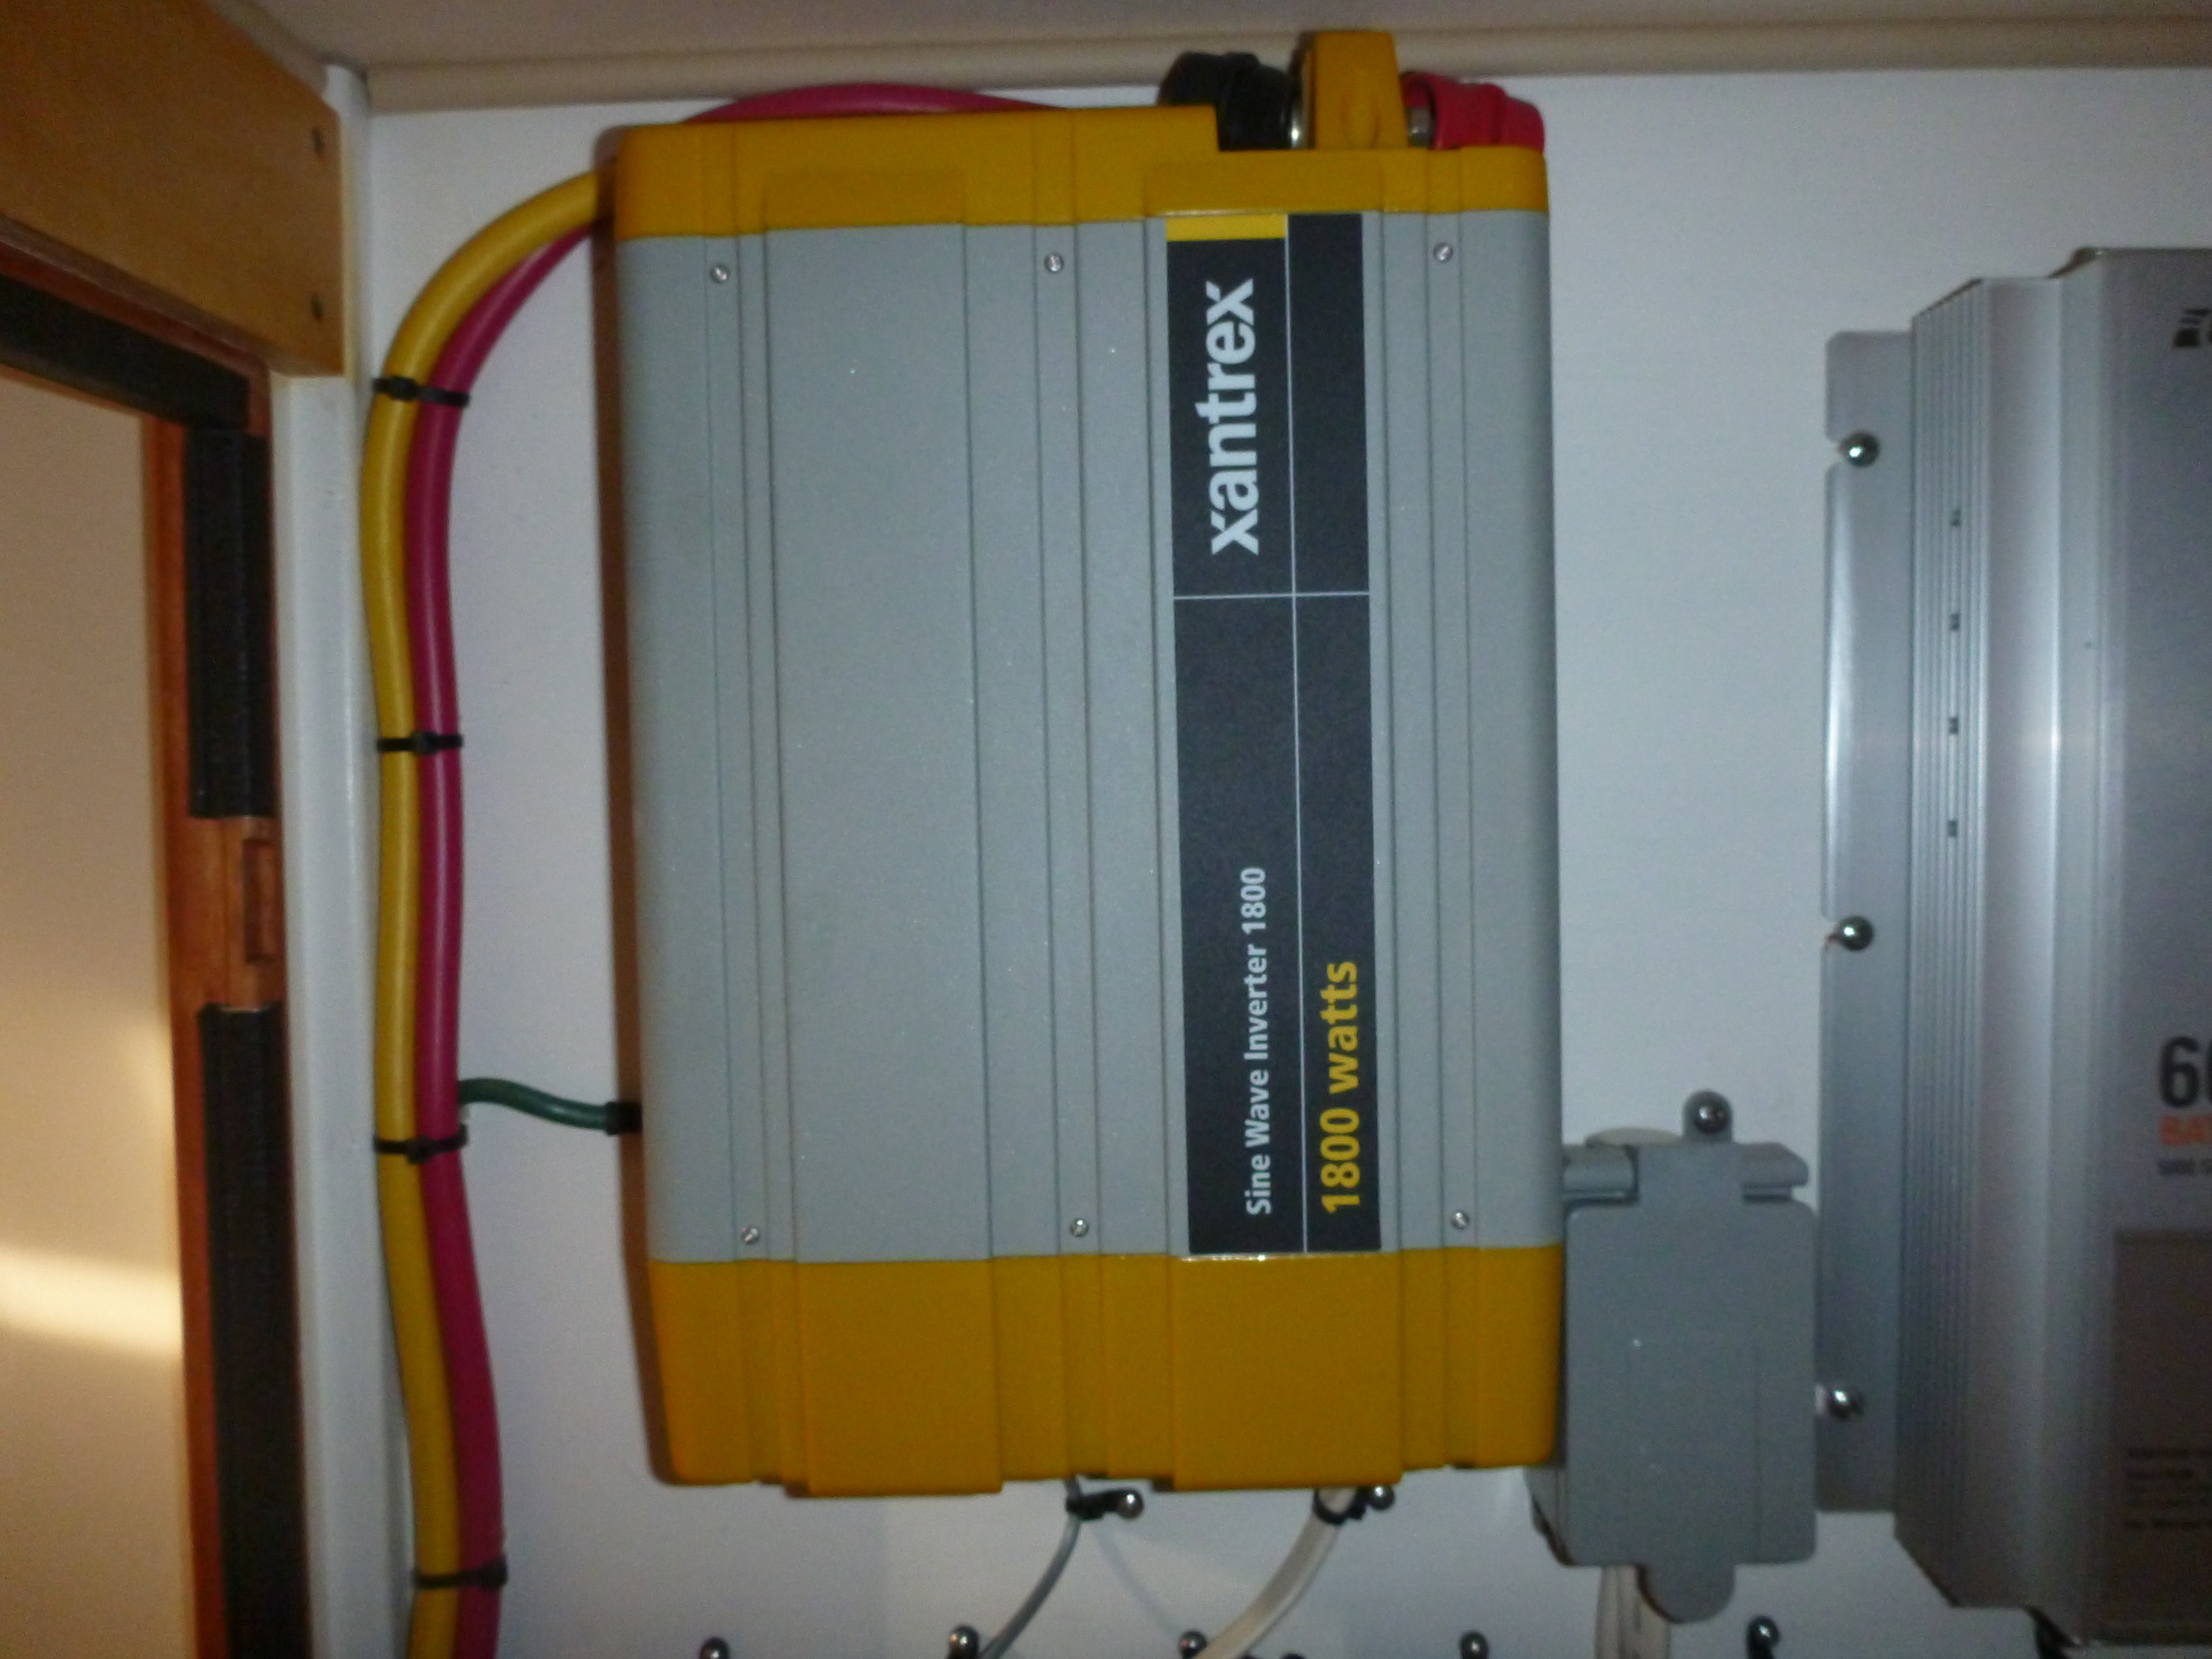
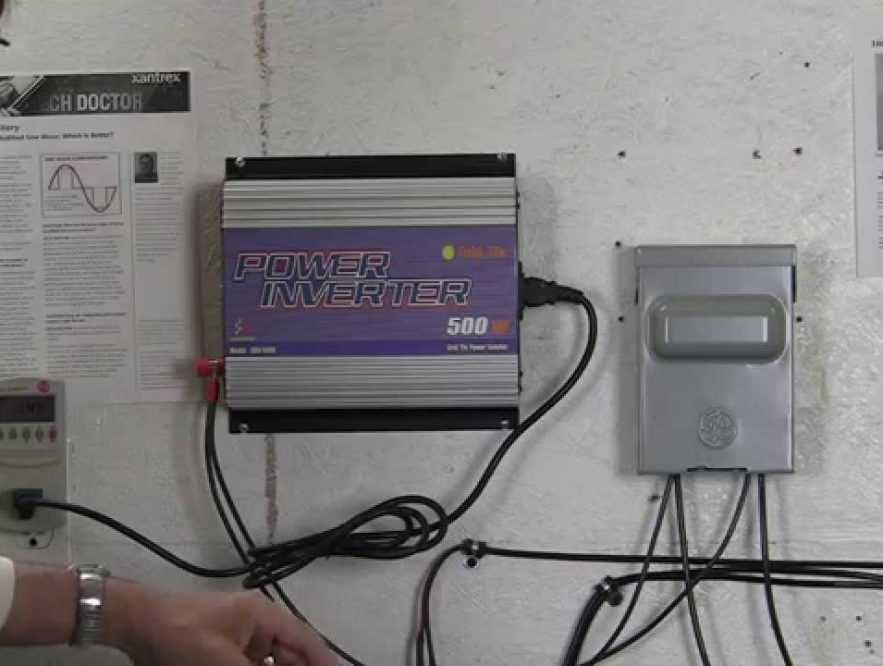
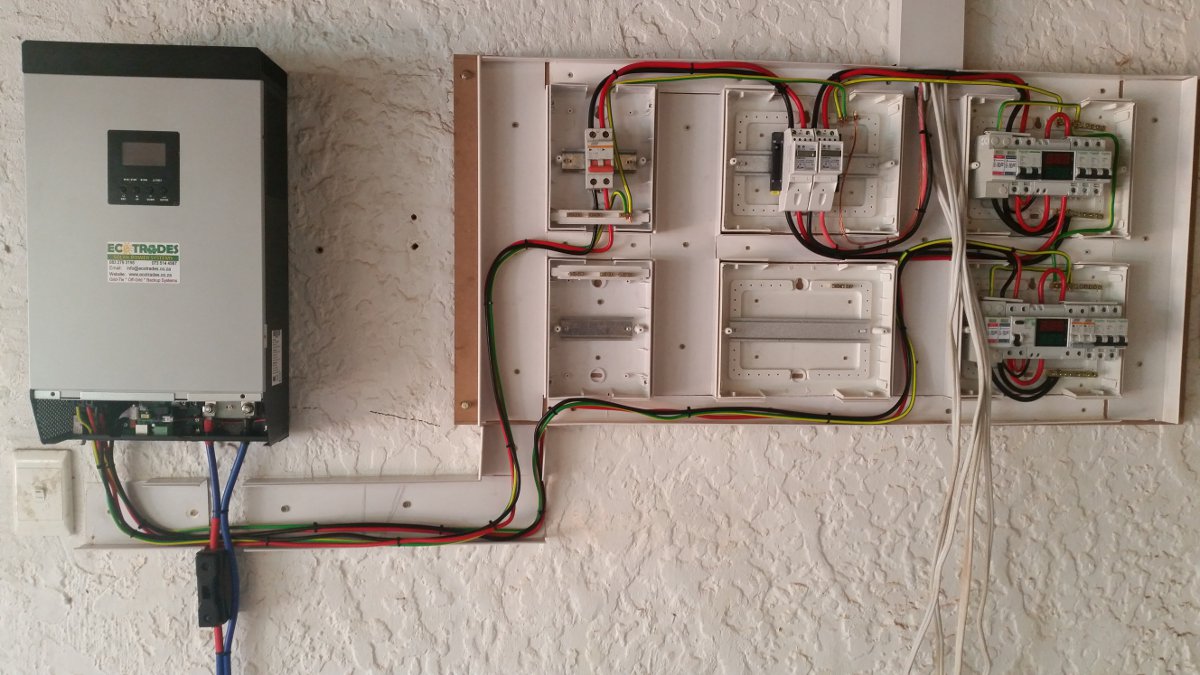
2. Mounting the inverter
The next step in inverter installation at home is that of mounting the inverter. Follow the given points to do the same:
- An inverter can be mounted horizontally either on a vertical surface or on or under a horizontal surface as well.
- Make sure that you lock its wheels to restrict the movement during battery installation.
- Try and install it on a perpendicular wall which is not subject to vibration. Avoid placing it near any kind of flammable materials.

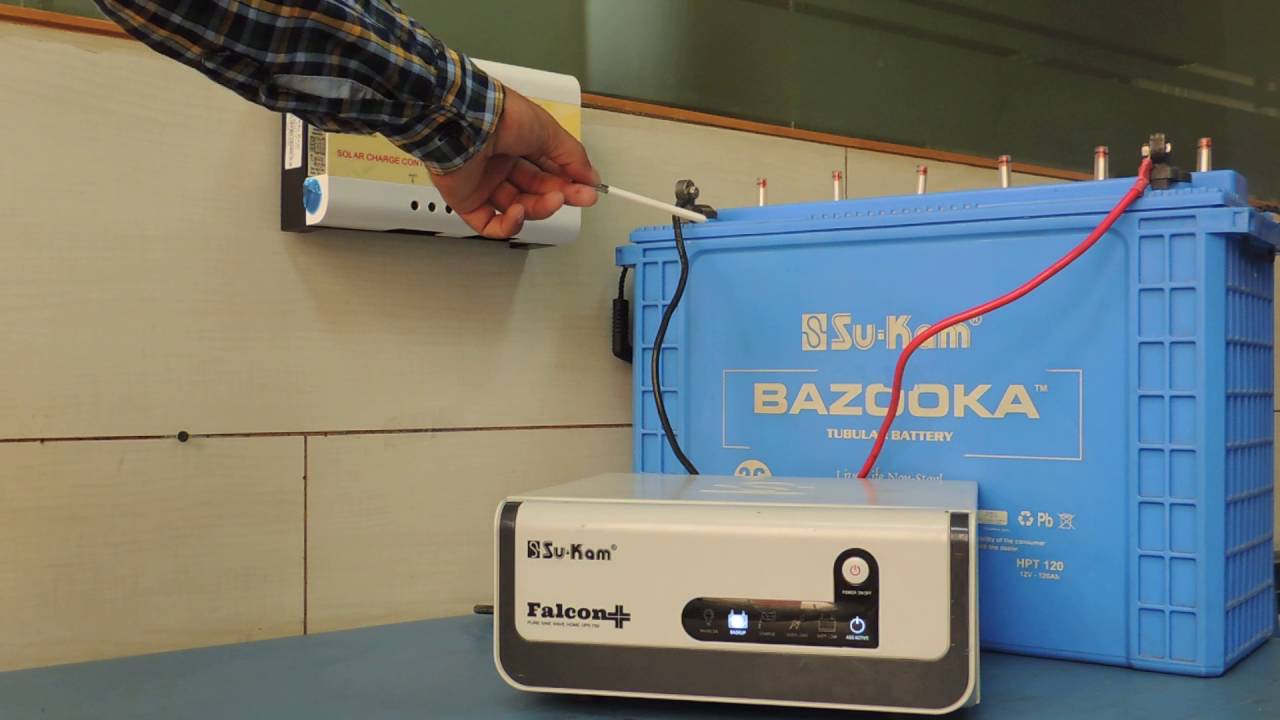
3. Battery installation
- For battery installation you will first have to remove the four screws which secure the rare panel to the main housing chassis. Remove the rear panel and put it aside.
- To install the battery, raise the top lid of the main housing chassis to be able to see the interior side. The long side of the battery should go through the length of the front panel.
- The first battery to be installed should be positioned through the rear openings so that the positive terminal is to the right side at the rear side of the main housing chassis.
- The second battery should be positioned with the positive terminal to the left. Lift the battery carefully and slide it into the main housing through the rear opening.


Luminous Inverter and Battery Combo
No. 1 Cruze+ 2KVA Pure Sine Wave Inverter for home, office, and shopsPure sine wave output ensures the safety of sensitive appliances with Digital Display for the status of Power back-up/battery charging time in hours and minutes.
4. Make sure you check the battery cable connectivity
You will also need to check the connectivity of the battery cable. Remember that you need a low resistance wiring between the inverter and the battery. This is because of the low voltage high current input. This will help in loading the maximum amount of usable energy to the electrical appliances connected with the inverter.
5. Installing the inverter

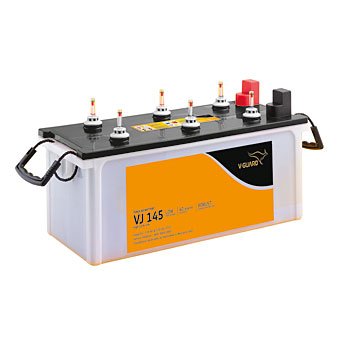
V-Guard VJ145 135AH Flat Tubular Inverter Battery
Best battery for home, offices, and workplacesMost suitable and Reliable in Deep Cyclic application and higher Power shortage area
- To install the inverter, place the inverter assembly on top of the main housing chassis in such a way that the inverter faces forward. Remember to remove power at the electricity board meter of the home.
- Now connect one end of the electrical cable from the double-pole switch lighting circuit and connect the other end of the electrical cable to the provided IEC connector, and then to the rear panel Input connector on the Inverter Assembly.
- Connect one end of the electrical cable from the load and connect the other end of the electrical cable to the provided IEC connector, and then to the rear panel Output connector on the Inverter Assembly.
- You will also need to connect the wiring harness from the batteries to the rear panel input connector of the Inverter.
- After this, turn on power at the Electricity Board Meter then at the Double-Pole Switch Lighting Circuit. The inverter will be switched on automatically.

Now that you know the DIY guide for inverter installation at home, you can get a new inverter and does the installation work yourself. However if you are unsure of the same, you can always contact a professional to do this job for you. This can be done by contacting Mr Right for inverter installation or inverter not working etc.